Thursday, January 24, 2013

A REAL Snow Day

2 in fact! These qualify as the first real snow days I have ever had as a teacher.

What do teachers do on their day off?

Well, what a splendid question. We lounge around in bed all day and eat bonbons of course! FALSE! Perhaps some get to, in fact I hope they do. I woke up at the normal 5:30 and was about to get in the shower when I just had this little tickle of an idea to look out the window before I hopped in the shower. No, no, no, I told myself... I would have gotten a phone call and it would just be a waste of time and a let down. Luckily the child in me just had to peek anyway and low and behold BAM *insert glittery white beautiful snow seen through the eyes of a babe*. It's sad when you check social media for school closures before you check news stations. WAY FASTER. I must admit it was a bit of a roller coaster ride. First udder jubilation at the thought of climbing back in my warm bed then all of the fun fizzled out when I realized our next make up day would use up our ONLY teacher work day in February. Call me crazy but work days like that save my sanity and give me a day to clean my classroom. Oh well, extra ZZZzzzZZZ's sounded okay however, there were none to be found. Emma was determined that I was supposed to be up. I even went as far as to shut her out but then she proceeded to meow persistently until I let her back in. Once back in she and D.C. decided that it was playtime and romped and played for the half an hour I attempted to sleep. Finally I gave up and decided to take a shower and get on with the day. When I came back in this is what I found...
Go figure...Oh well. Anywho. I did managed to get several school things done and Pinterest some school and wedding ideas. While on Pinterest I found a wonderful recipe for Skinny Chocolate Chip Buttermilk Scones. I must say they were pretty amazing and super easy to make. They were barely out of the oven 5 minutes before they were devoured. I must admit I had two myself.

Ingredients:
3/4 c cold buttermilk (if you don't have buttermilk search online, I have read that you can add vinegar to milk to make buttermilk)
1/4 c sugar
2 tsp vanilla extract
1 egg
1 c all purpose flour
1 c white whole wheat flour
1 tbsp baking powder
1/2 tsp salt
3 tbsp chilled butter cut into small pieces
3/4 c chocolate chips
1 egg white lightly beaten
sugar for dusting

Preheat oven to 375 degrees. Mix together the first 4 ingredients and set to the side. Combine flour, baking powder, and salt in a large bowl. Using a pastry blender cut in chilled butter until the mixture is coarsely mixed together. Fold in chocolate chips. Slowly add in milk mixture stirring just until moist. Knead lightly four times with floured hands.

On greased or parchment lined cookie sheet form dough into a nine inch circle, about 3/4 inch thick. Using a knife or pizza cutter cut dough into twelve wedges all the way through. Brush with egg white and sprinkle evenly with sugar. Bake 18-20 minutes until golden brown. Best served right out of the oven with a cup of coffee or tea


If you're looking for the link click the following: Skinny Chocolate Chip Buttermilk Scones


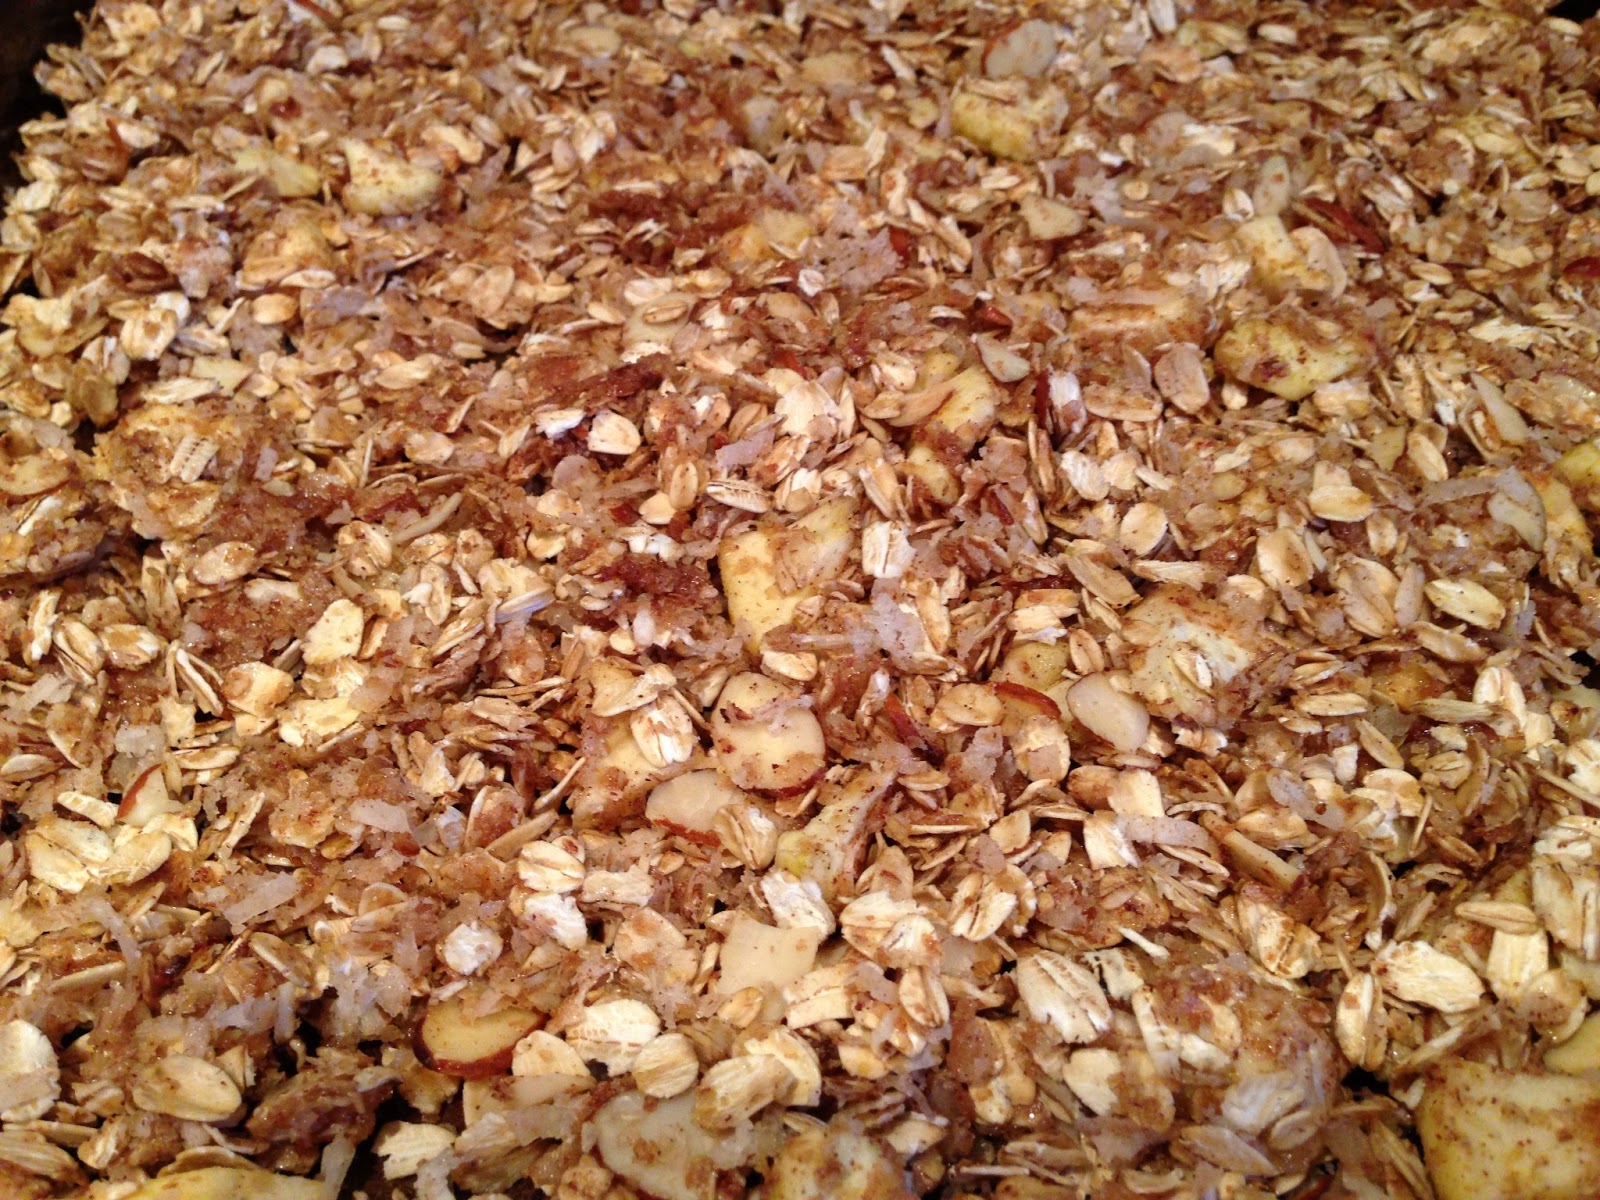
Also made some homemade granola. That's a recipe still being tweaked.  Anyone have a recipe for granola that you love?

I managed to be a big girl an get my car inspected on my very own today. Go me! Tomorrow I plan to head to Maryland to shop for the last two bridesmaid dresses and for Grant to look at tuxes. I am so happy to be getting things done!

Thursday, January 17, 2013

Snow Day! (Almost)

Well, halfway. There is no snow to be seen as of yet. We had an early release at 1 o'clock, yippie! Now I'm getting all cozy and building a fire before settling down to pay it forward in a way....
"Pay it forward?" you may ask. Yes, pay it forward. The internet has provided me with so much inspiration on my newest school project this year, math journaling, that I thought I would share what I have done to maybe help someone else out.  Last year we used power points and cloze notes which was all fine and dandy but just didn't feel like me. Some people said I was crazy when I mentioned journaling and sometimes with the cutting and pasting it can seem a bit crazy but after a few go arounds and getting organized it has defiantly paid off. My students enjoy journaling because they have a book that they have created. I also find that they actually use it as a reference where as before the notes ended up in the trash or lost in their binder. If they are smart they will take it to 6th grade with them; I won't hold my breath on that one though. So, here is everything I have done so far. Feel free to use anything you like :-)
I have 2 journals. One for my homeroom one for my second period. Some people have one that they plan their journal out in. I tried that and decided that it's just too much work. I like letting it flow and adding what is needed as we go. Plus in my mind if you are typing out pages you already have a guideline for how everything is going to play out. 

 My title page. One the first day of school we set up our notebooks. Each student was able to decorate their own title page however they wished; it just had to include their name. We then set up our table of contents, there are 2 pages front and back of this, and finally the math journal contract. I found this online and apologize to the person who I owe credit to because I have lost the link.

Place Value- Sometimes things were fill in the blank and we filled them in together. 
 I am flipbook obsessed and love making them for some odd reason. Luckily my kiddos love them too.

 Decimals


 We paused decimals to hit on multiplication for a bit that way we could continue with the multiplication of decimals. I am thankful to have a great teammate who comes up with journaling pages too.
 Notice the lattice multiplication at the bottom. Oh my gee, I LOVE LATTICE MULTIPLICATION! If you have not used it before you need to seriously check it out. It makes life so much easier.
 Distributive Property
 Word Problems


 Ordered Pairs
 Graphing
 Stem and Leaf
 Mean Median Mode and Range

 For this page I handed out different objects to different groups IE frogs, coins, beans, etc. Then we found the mean, median, mode or range for each so that they would have a worked out example.
 Circles


 This one didn't turn out quite like I had plan because I got lazy. Originally I planned to use a brad and two pieces of laminated paper on the top half of the page to create a space where they could make the different types of angles. I took too long debating whether or not the brads were going to pull through or mess up the rest of the pages. Instead we just drew pictures of each of the types of angles and left it at that.

 Triangles
 Isosceles is my favorite, my little ice cream cone


 Variables

 Order of Operations
And that leaves us off to where we are now, order of operations land whose page came off of pinterest land somewhere. If I can figure out how to add downloadable worksheets so that you could print them off. If anyone could explain this to me that would be grand! My students math journals are a lot more colorful. They have time to color and add drawings while I am often running around helping my students who need help cutting or writing. 


This is how I store all of my things for journaling. During the back to school sales I picked up these pencil cases for 10 cent each. Inside of each there are scissors, colored pencils, crayons and a glue stick; everything they could possibly need for journaling. Each box is numbered for a reason. Originally they were unnumbered and each period would just grab a box. This ended in disaster and boxes being super messy and missing materials on a daily basis. Nothing is more annoying than someone complaining of a messy box or missing material when they were just as guilty of creating a mess themselves. Now boxes are numbered so they grab their according box (each student has a number based on their place in the alphabet). This makes them responsible for the box. If the next period finds a messy box it is easy to pinpoint who it was and their task is to then come in at the end of the day and straighten up all of the boxes to make sure they have all of the needed supplies. No one wants to do this so it has yet to be a problem. 


Last but not least is my RI creation. I decided to make a "math quilt" type of assignment. Students have an assignment list that goes with the quilt page. They have 5 weeks during RI time to complete the assignments. As each assignment is completed they color in the corresponding number on the quilt page. I am hoping this cuts down on the "Ms. Jenkins, what do I do nowwwww?!?!?!" questions that seem to happen every day during this time even though there is a list on the board. When I am working in small group it makes it very hard to re-direct someone and keep my groups attention. You all know how it goes, or perhaps I'm the only one with that problem! There are 23 assignments that are all kept in a crate (pictured below) and numbered as to what assignment it is. Smaller tiles blocks equal smaller assignments and larger blocks equal larger more difficult assignments. I anticipate this to last 5 weeks or so (hopefully) which is great because that means I do not have to plan for RI for the next 5 weeks! Go me! The other big bonus to this is that I used leftover worksheets from this year and last year so that I did not have to create anything new. 


Wednesday, January 16, 2013

Wedding Crafts *updated*

I swear every time I blog I have to apologize for it being so long. I'm not quite sure who it is I am apologizing to, I suppose it's myself more than anyone since it's my own life record; an online diary of sorts. I Pinterest and look at so many crafty teacher blogs and think to myself, "How can they do it?".... I mean seriously, how can they do it? Most people also have kids. I can't seem to find time outside of school work to write down all of the things and moments that I don't want to forget. To all of you who manage to do this, I salute you! Tonight I am putting grading and my classroom aside and doing some "fun" stuff (aka playing the game of procrastination).

Now onward to today's post, a wedding craft! It's getting so close! You want numbers you say? Try 157 days or 5 months, 5 days, 22 hours, 52 minutes from this exact moment. Truthfully, it is all making me a bit nauseous and I am ready for it to be here. After 2 years of planning I feel like I am running out of creative steam. There is good news; so many things are DONE. Lets make a list, lists always make me feel better.

Things that are done:
Venue
Preacher Man
Cater
DJ
Cake
Favors
Table Decor (almost, so close it's going on this list for my sanity)
Honeymoon night is booked
Photographer
Hotel Blocked
3 out of 5 Bridesmaid dresses ordered/shopped for

Things that need to be done:
Song list for DJ
Cake choice needs to be made
Final tasting with cater
Flowers
Bridal Party Gifts
Parent Gifts
Alcohol needs to be purchased
Final payments to be made
Mens Attire

Whew, what a list. I am sure that I have forgotten things on both ends of the to-do's and the have-done's.

Over the weekend Grant and I managed to get a few things made. We worked on creating our table numbers. Overall we have a vintage theme going on so when I found slate roofing shingles a few weeks ago in an antique mall I knew that I could find a purpose for them and somehow turn them into table numbers. For $2 a piece I couldn't turn them down. They were also fairly large, 18 x 9 so I was able to cut them into four 9 x 4.5 inch rectangles so I got 4 times the bang for my buck. Here they are all stacked up ready to be cut. Sorry for the crummy pictures. It was a last minute decision to capture it all so the iPhone had to do the trick.
 Step 1 was using a chalk line to mark off where to cut.

 2. After they were cut they had to be washed up and laid out to dry.


 Our little slate houses.
 Next I used contact paper to cut out a stencil. To do this I printed off the numbers to the size that I wanted on regular printer paper. I suggest not using anything that is to narrow or curly as those curls can be hard to cut out. After we had all of our numbers printed out we laid them over the contact paper (sticky side down, with the covering still on) and used a razor blade to cut out the numbers. Doing this gave us a stencil that wouldn't wiggle around and that we could place once and leave until we were done.


Here is Grant placing the stencil.
 Sticky side goes down, you know that already of course! Make sure to really press down the edges so that the paint does not bleed through.
 Start applying thin coats of paint. Layer coats of paint until you get the desired color that you are looking for.


 Notice our edges are not perfect. That's ok with me as it goes with the look we are going for but I am wondering if there is a way to get better results. I think that because the slate is bumpy a perfect seal did not form between the contact paper and the slate. Experimenting with a different type of paint might achieve different results. I used an acrylic paint but I am wondering if light coats of spray paint would work well and then you would skip the bleeding. Just food for thought.
I am so excited to see these put together with everything else. It will be here before I know it!

Update: SO I decided to try the spray paint idea. SOOOO much easier and faster. Turned out much nicer as well. See :-)


The numbers are much more crisp and instead of spending an hour to apply several coats of paint it just took one go around of spray paint and all of 5 minutes to do. I would highly suggest this version over the hand painting.