So over the past few months I have been trying to come up with ways to save money here and there. I found that we were using a huge amount of energy in doing laundry. As to how two people make so much laundry totally blows my mind. As a solution I have tried to cut back on using the dryer but because it is still winter and our apartment complex forbids hanging clothes outside we can't go the normal hang up the clothes route.
Solution: In stores I saw rubber balls made to be put in the dryer to fluff clothes and toss them more as they were trying thus adding more heat to the inside of the clothes pile. After reading a few reviews I found that they either crack or leave clothes smelling like rubber which for $6-$10 a piece neither was acceptable. Even better solution: making wool dryer balls. They are super easy to make, cheap, and last a long time when done correctly. The dryer balls can replace dryer sheets as they cut down on static and soften your clothes as they move around against the fabric. By using 4 wool dryer balls you can cut up to an average of 25% off your large load drying time and cut around 30-45% off your small loads.
Materials needed:
-Wool yarn: the following is VERY important, use yarn that is 100% wool or yarn that can be used for felting. If the yarn will not felt then the fibers will not stay together and your wool ball will fall apart. When selecting wool make sure that it is NOT super wash wool or machine washable, both of these prevent the wool from felting properly. I found my wool at Michaels Crafts and have tried both the Fisherman’s Wool and Lion Brand Wool; both have worked well. The amount of wool needed will depend on how big you want your dryer balls; I tend to use about 3 ounces per ball.
- Crochet Hook
-Scissors
-Pantyhose or sock (use an old one; here's a use for all of the lonely socks that have lost their mates!)
-Another type of yarn/string other than wool. You only need a tiny bit as this is just used to hold the ball in the sock.
Directions:
One: Make the core-
To start your wool dryer ball you make a small ball out of the wool, this becomes the core of your dryer ball. You could do this step without felting however it may result in a less firm dryer ball. OK, here we go...
The easiest way is to start by winding the yarn around the tips of two or three fingers 10-20 times. Here's a few pictures from wikihow

Next gently remove the yarn from your fingers. It will look like this

Begin wrapping the yarn around the middle of the yarn loops and continue until it gets full

Similar to this.

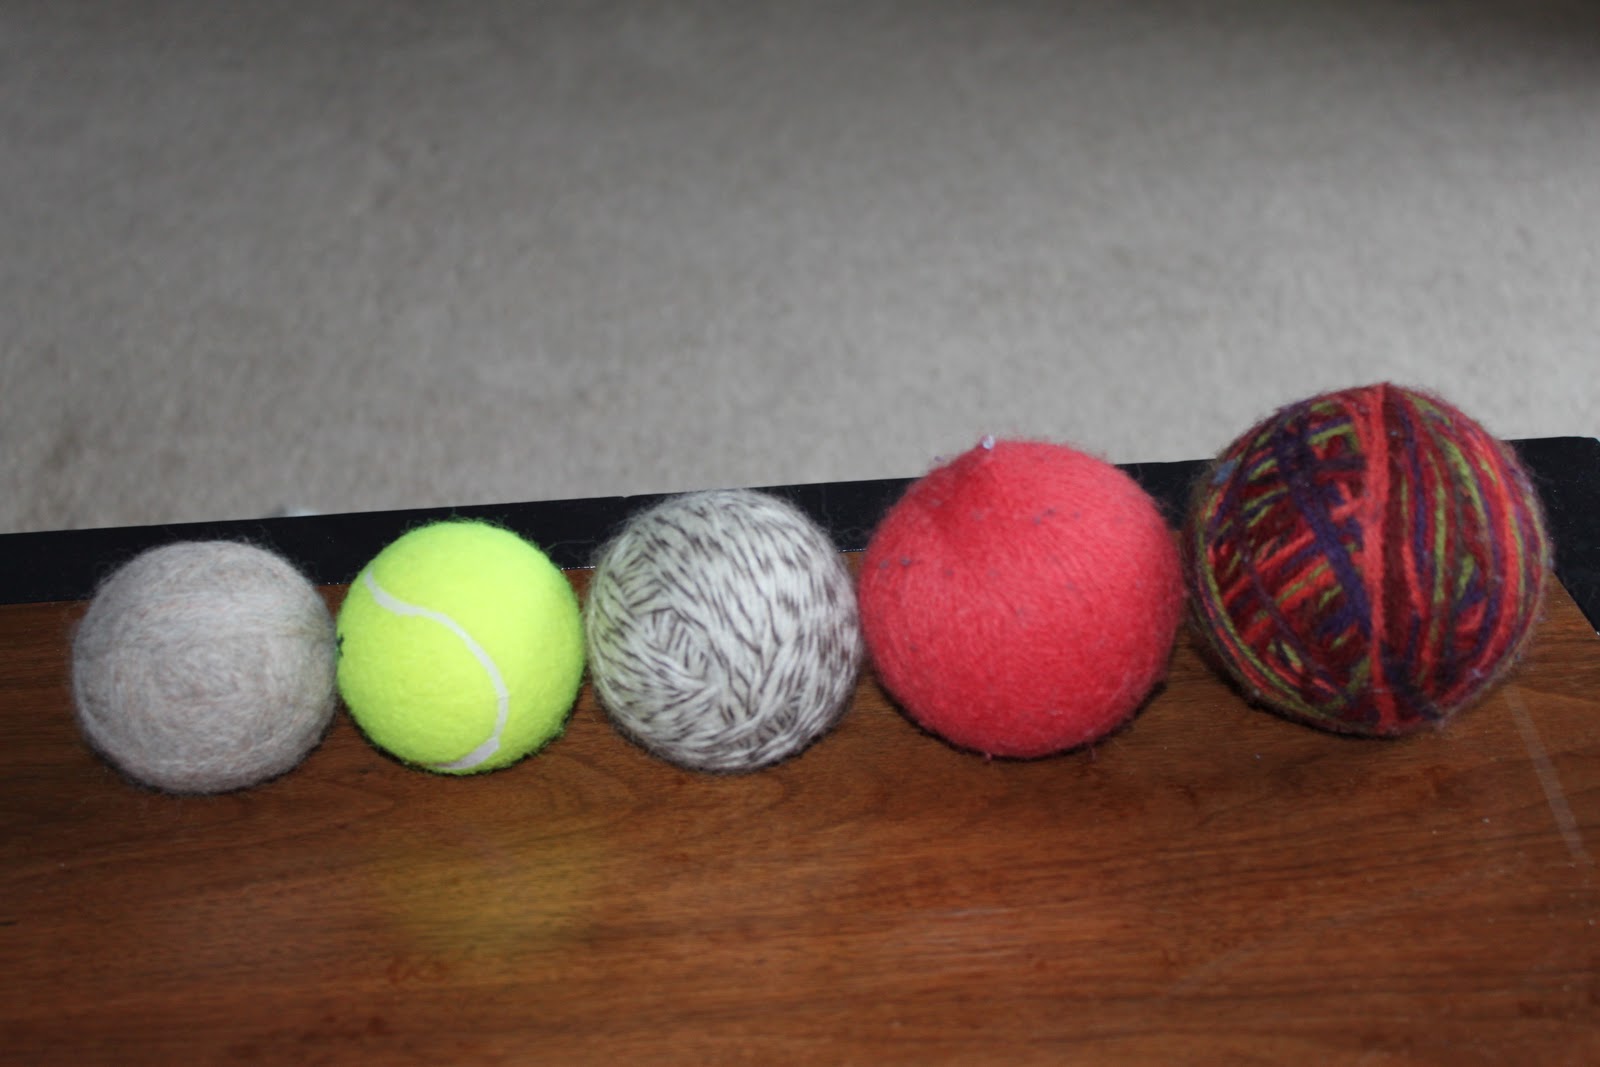
Once you have reached this point continue to wrap the yarn around until you achieve a round shape about the size of a golf ball. Keep the yarn tight as you go around, this will help it keep shape. Change direction as you feel necessary and stop at this point if you are going to felt the core. If you are choosing to continue and not felt the core continue wrapping the yarn around until you have a wool ball the size that you want. I make mine several sizes and have found that tennis ball size works pretty well.
Two: Preparing for Felting and the Process of Felting
Once you have completed your yarn ball use scissors to cut the yarn about 1-2 inches away from the ball. Use your crochet hook to pull the yarn under a few loops of your yarn ball. This will keep it from coming apart as it is felted.
You have a few felting options. You can put the dryer balls in the pantyhose/socks and felt the dryer balls in the washer or do it by hand.
If already have a load of clothes going in the wash I would choose that option because it is easier. You do need to use warm/hot water in order for the yarn the felt. Put the wool balls in the pantyhose/sock and use the non-wool string/yarn to tie in between the balls and to close the open end of the pantyhose. Once that is done just throw it in the washer with your clothes and complete the wash-dry cycle. When the cycle is done snip the string that kept the balls in place and remove the balls from the pantyhose/sock. The felting process is done again so unless you have several pairs of pantyhose/socks to use I would suggest not cutting the material itself, just the string holding it together so that it may be reused.
To hand felt I use the kitchen sink and fill it with hot water and a drop or two of dish soap. The dish soap helps the fibers swell and enables them to bind together better. Put the wool balls in the water and agitate. Make sure that you roll the balls against something whether it be each other or the bottom of the sink, friction is very important. I use the palm of my hand and rub it around the ball to increase fiber binding. After several minutes you should see the fibers binding together. You may have to change the water a few times in order to keep it hot to ensure that the wool fibers are felting. This may take 10-15 minutes. Once you are done squeeze the excess water out of the balls and put them in a place to dry. You could skip the drying step if you wanted and continue to step three.
This is a felted dryer ball. Notice that the individual strands of wool do not stand out as much, over time and use they will bind together completely and become a solid mass.
Three: Completing the Dryer Balls
Once you have the core felted continue wrapping the wool yarn around until desired dryer ball size is acquired. I make many sizes but most of the time they are around tennis ball size.
Once you have made the ball the size you want repeat the directions in step 2 and felt the dryer ball. After the ball has been felted it is ready for use. The more it is used in the dryer the more it will felt and become harder. You can use a sweater shaver on the wool balls as needed to remove fuzzies. Also, small drops of scented oils can be used to scent your dryer balls.
Enjoy!